San Rafael Swell from Moab: Organize Your Day Trip
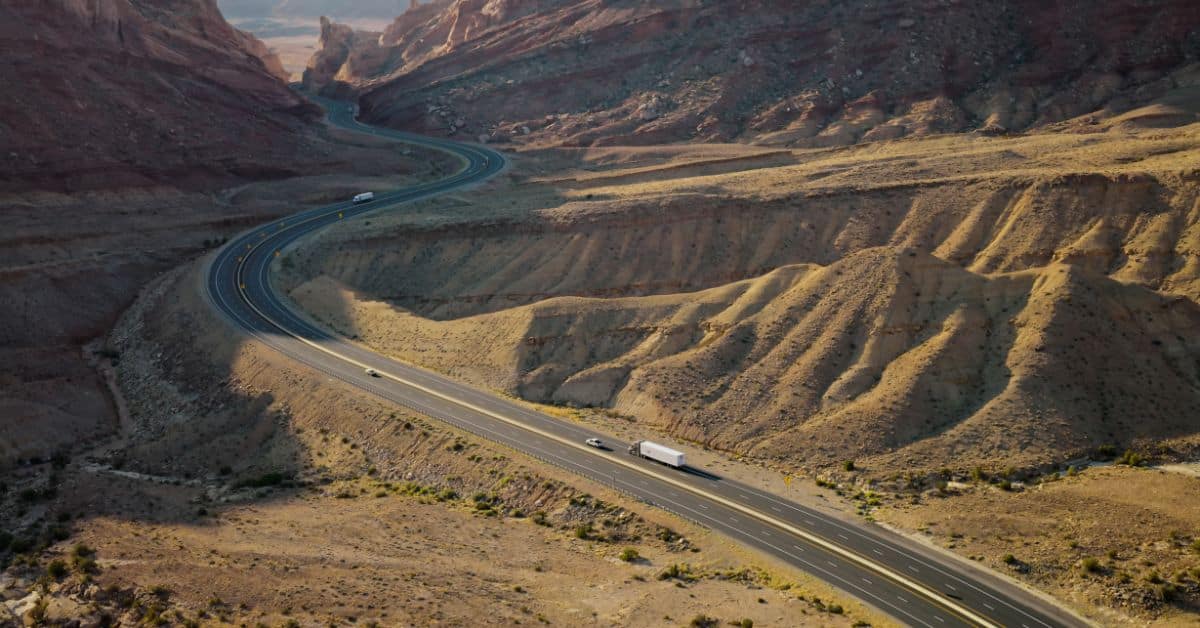
If you’re based in Moab and want a big-sky adventure that feels wilder and quieter than the national parks, a San Rafael Swell from Moab day trip is a perfect long-day loop. You’ll trade slickrock crowds for wide desert basins, striped sandstone cliffs, hidden canyons, and some of Utah’s best roadside history stops.
This guide lays out a realistic schedule, the key driving segments, and easy swap-ins depending on whether you’re here for overlooks, short hikes, or petroglyphs. Always check current conditions before you go, especially after storms.
Table of Contents
Quick Overview
- Day length: Full (12–14 hours including driving and stops)
- Style: Scenic driving + choose-your-own stops (hikes, overlooks, history)
- Best seasons: Spring and fall for comfort; summer is doable with early starts and extra water
- Vehicle: Mostly paved + graded dirt options; some highlights may require high clearance (and 4WD in mud/sand)
Suggested One-Day Itinerary
Use this as a backbone, then swap stops based on your interests and vehicle.
6:30am — Depart Moab
Grab coffee, top off fuel, and download offline maps before you leave town.
8:00am — Arrive near I-70 / San Rafael area (gateway zone)
Quick stretch + reset your trip meter.
8:15–9:15am — Stop 1: Buckhorn Wash (petroglyphs + pictographs)
Easy, morning light is often best for rock art photos.
9:30–10:30am — Stop 2: Wedge Overlook (aka “Little Grand Canyon”) (optional if roads are good for your vehicle)
Big payoff views for minimal walking.
10:45am–12:00pm — Choose one short hike block
- Scenic/hike option: Little Wild Horse Canyon (slot canyon “sampler”)
- History option: More rock art panels in Buckhorn Wash + interpretive pullouts
- Low-commitment option: Viewpoints only + extra photo time at the Wedge
12:00–12:45pm — Lunch break
Eat in the shade when possible; plan on minimal services.
1:00–2:30pm — Stop 3: Goblin Valley area
Wander among hoodoos or keep it quick if you want more Swell time.
2:45–4:15pm — Choose your afternoon focus
- Overlooks: Back to the Wedge area for golden light
- Canyons: Finish a slot canyon loop or do a shorter out-and-back
- History: Add more San Rafael River corridor viewpoints and rock art stops
4:30pm — Start return drive toward Moab
Aim to be back on the main highway before dark if you’re on dirt roads.
6:30–7:30pm — Arrive Moab (depending on swaps and road choices)
Dinner in town and a well-earned early night.
Optional Stop Swaps (Pick What You Like)
- If you love big views: Prioritize Wedge Overlook + Buckhorn Wash; skip longer hikes.
- If you want a short hike: Prioritize Little Wild Horse Canyon and keep Goblin Valley shorter.
- If rock art is your thing: Spend extra time in Buckhorn Wash and add nearby panels; skip the slot canyon.
Driving Times
Times and distances are approximate and can change with road choice, conditions, and how often you stop for photos. Dirt segments can become slow or impassable when wet; check current conditions before committing.
| Segment | Approx time | Distance (mi / km) | Notes |
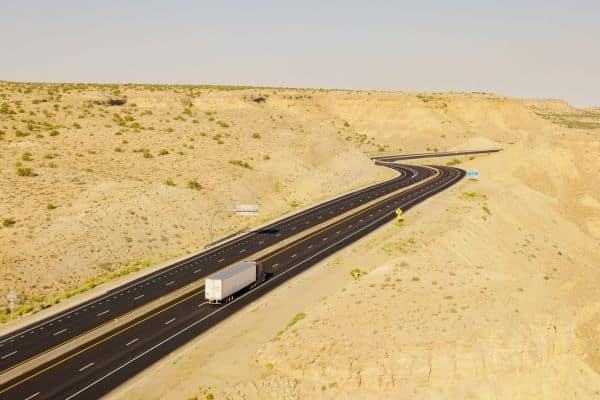
| Moab → I-70 / San Rafael gateway area | 1 hr 15 min–1 hr 45 min | ~90–110 mi / 145–177 km | Paved highway. Wind and storms can affect drive time. |
| Gateway area → Buckhorn Wash rock art corridor | 15–35 min | ~10–25 mi / 16–40 km | Mix of paved/graded road depending on route. Watch for washboard. |
| Buckhorn Wash → Wedge Overlook area | 45–75 min | ~25–45 mi / 40–72 km | Often graded dirt. High clearance helpful. Mud can be a problem after rain. |
| Buckhorn Wash → Goblin Valley area | 45–70 min | ~35–55 mi / 56–89 km | Mostly paved once you’re on the main access road; easy driving. |
| Goblin Valley area → Little Wild Horse Canyon trailhead | 5–15 min | ~3–8 mi / 5–13 km | Short access road; can be rough in spots. Avoid during stormy weather (flash-flood risk in slots). |
| San Rafael area → Moab (return) | 1 hr 15 min–1 hr 45 min | ~90–110 mi / 145–177 km | Paved highway. Plan fuel before leaving service areas. |
Best Stops
Choose 6–10 depending on your pace. Below are the most day-trip-friendly stops with clear payoffs.
1) Buckhorn Wash Rock Art Panels
- Why it’s worth it: One of the easiest ways to see impressive rock art without a long hike.
- Time on-site: 30–60 minutes (longer if you love details).
- Difficulty: Easy (short walks from pullouts).
- Practical tip: Bring binoculars or a zoom lens; rock art is best appreciated without getting too close.
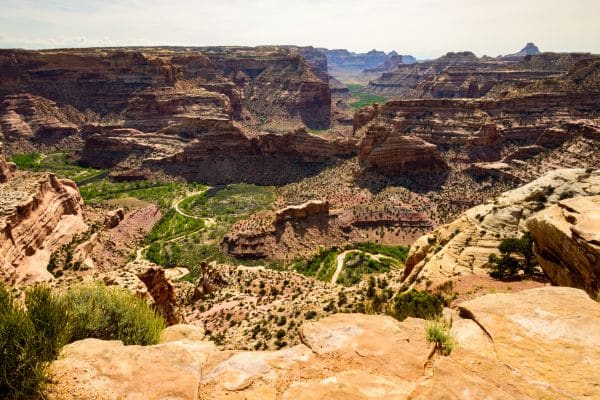
2) Wedge Overlook (Little Grand Canyon)
- Why it’s worth it: Huge canyon views and dramatic layered cliffs, especially in late-afternoon light.
- Time on-site: 30–75 minutes.
- Difficulty: Easy (short walking on uneven ground).
- Practical tip: No guardrails. Wind can be strong. Keep kids close and stay well back from edges.
3) Goblin Valley (Hoodoo Wander)
- Why it’s worth it: A surreal playground of goblin-shaped rocks that’s fun even with minimal hiking.
- Time on-site: 60–90 minutes.
- Difficulty: Easy to moderate (sand, uneven rock).
- Practical tip: Midday can feel brutally exposed. Go early afternoon only if you can handle heat and have plenty of water.
4) Little Wild Horse Canyon (Slot Canyon “Sampler”)
- Why it’s worth it: Tight narrows, cool shade pockets, and classic slot canyon scenery with a flexible turnaround point.
- Time on-site: 1.5–3 hours depending on how far you go.
- Difficulty: Moderate (sand, light scrambling, tight spots).
- Practical tip: Avoid slot canyons if storms are possible anywhere in the drainage. Check current weather and be conservative.
5) Bell Canyon (Quieter Slot Alternative)
- Why it’s worth it: Similar scenery to Little Wild Horse but often feels less busy.
- Time on-site: 1–2.5 hours.
- Difficulty: Moderate.
- Practical tip: Navigation can be less obvious in spots. Use offline maps and don’t push deeper if you’re unsure of the route.
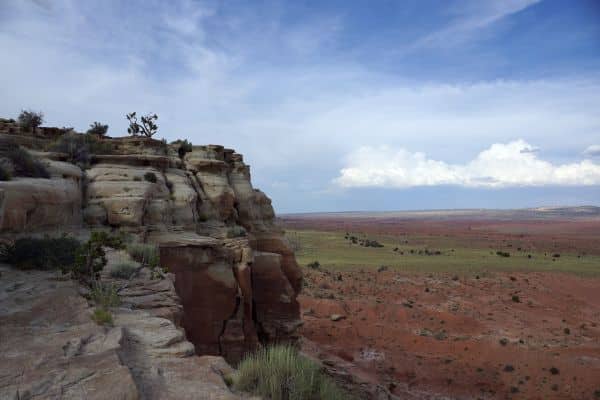
6) San Rafael River Viewpoints / Pullouts
- Why it’s worth it: Peaceful desert river scenery and a sense of the Swell’s scale without committing to a long hike.
- Time on-site: 10–25 minutes.
- Difficulty: Easy.
- Practical tip: Park fully off the road. These are quick stops—perfect for legs, snacks, and photos.
7) Temple Mountain / “Ghost Town” Area (History Stop)
- Why it’s worth it: A fascinating look at the Swell’s mining-era history and desert remnants.
- Time on-site: 20–45 minutes.
- Difficulty: Easy.
- Practical tip: Treat structures as fragile. Look, photograph, and leave things exactly as you found them.
8) Buckhorn Draw Interpretive Pullouts (Extra Rock Art + Geology)
- Why it’s worth it: Adds context: panels, formations, and the feel of traveling through a natural corridor.
- Time on-site: 20–60 minutes.
- Difficulty: Easy.
- Practical tip: Morning or late-day light helps reveal carvings. A small headlamp can help with angled viewing (don’t touch the rock).
What to Pack & Safety
Desert day trips are simple if you’re prepared and stressful if you’re not.
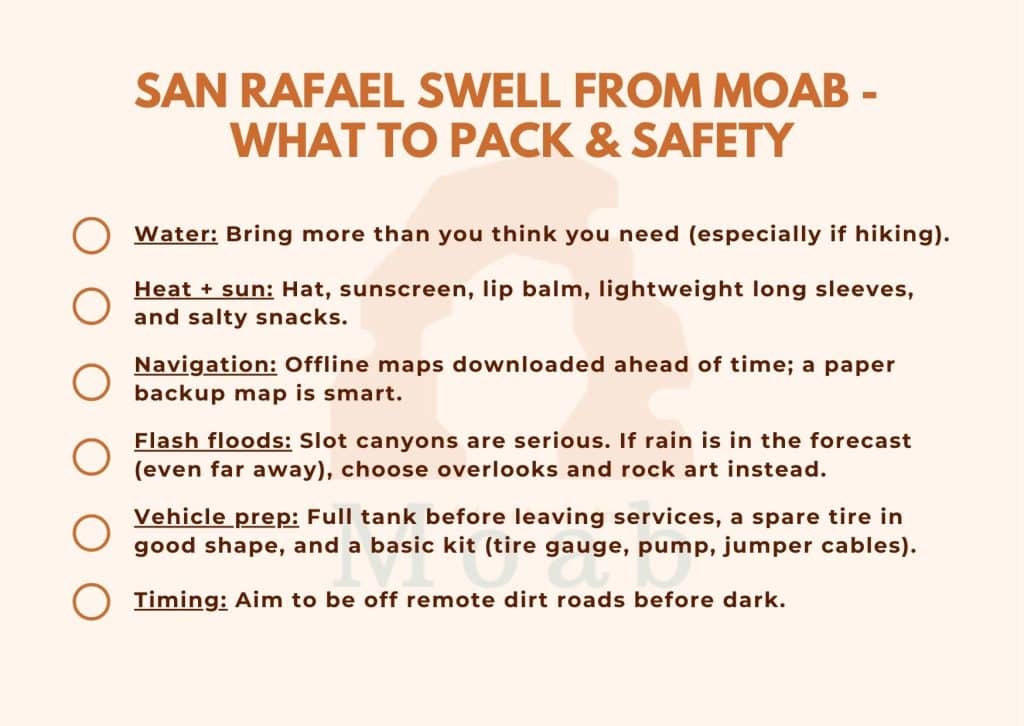
Map & Navigation Tips
- Download offline maps in Moab (and any route-specific layers you like) before you lose signal.
- Save key waypoints: trailheads, overlooks, and your “bailout” route back to pavement.
- Use landmarks: major junctions, river corridors, and named overlooks are easier to verify than a blank desert road.
- Fuel plan: Don’t assume gas will be available where you want it. Top off in Moab and again whenever you pass reliable services.
- Road reality: If a dirt road looks freshly rutted, muddy, or sandy and you’re in a low-clearance car, turn it into a paved-stops day without guilt.
Keep a Flexible Trip to San Rafael Swell from Moab
A San Rafael Swell from Moab day trip is all about choosing the right mix: one big-view stop, one “wow” hike (or rock art corridor), and enough buffer time to handle slow dirt miles and spontaneous photo breaks.
Keep your plan flexible, check current conditions, and you’ll come home with a full camera roll and that satisfying tired feeling that only a long desert day can deliver.